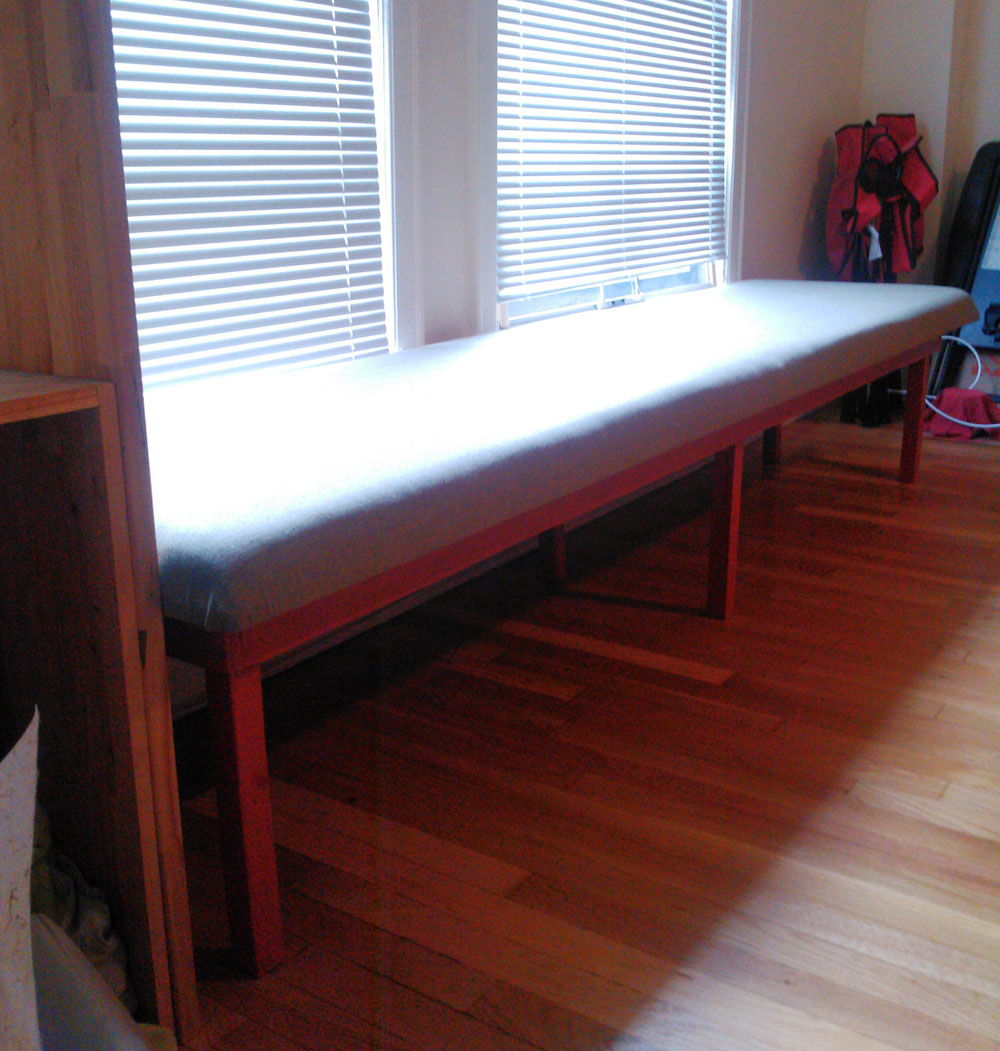
Finding a large bench on a small budget is pretty hard. Seattle is great for having an abundance of free furniture on craigslist. In fact, we were able to almost entirely furnish our apartment for free. However, we couldn't find a bench that suited our needs. We wanted something that ran the full length of the window. It also needed to be open underneath because of the baseboard heater below the window.
Parts
- 1 – 4′ x 8′ sheet of 3/4″ plywood – Free (craigslist)
- 3 – 36″ long 2″ x 2″ boards – $0.50 each (Home depot scrap)
- 1 – 3 yard length of fabric – ~ $50 (fabric store near our apartment)
- 1 – 8′ x 2′ length of high density foam – $48 (online retailer
- 1 – box cheap self-tapping 2″ wood screws – ~$5 (home depot)
Tools
- Drill
- Circular Saw
- Staple Gun
- Fabric Scissors
Plans
Plans? We don't need no stinking plans. Really, I didn't make any plans (except in my mind) I just started cutting. Don't worry I did measure twice. I can still hear my grade school math teachers shouting at me, "Show your work. I'm going to assume you're cheating if you don't show your work." Not much has changed.
Process
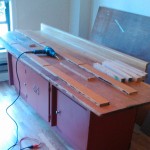
- Cut plywood to size for top
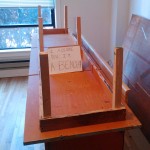
- Cut aprons 3″ wide inset by 3″ on all sides (so 6″ short of the full length / width)
- Cut legs 16″ each
- Screw it all together
- Cut foam to size (or just buy it at the correct size in the first place)
- Lay the fabric flat on the ground
- Lay the foam on the fabric (centered-ish)
- Put the bench face down (legs up, thats the way we like to upholster) on the foam
- Go around the edges with a staple gun pulling the fabric tight
- Cut excess fabric
- Fin
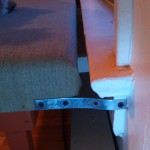
Attach to wall if needed. I screwed this bench in to the bookshelf on one side and in to the windowsill on the other with a metal bracket I picked up for $2. It was pretty stable as-is, but it would slide away from the wall a bit if you leaned back too hard so I figured I'd attach it.
Pictures (of cats)

